REVIEW · SENARU
3d/2n trekking mount rinjani summit lake & hot springs
Book on GetYourGuide →Operated by Mount rinjani summit · Bookable on GetYourGuide
Some hikes change your breathing. This one changes your whole view.
I love the crater moments: sunrise over Segara Anak from the rim and summit, plus sunset viewpoints that make the volcano feel cinematic. I also like how the route pairs big open savanna walking with real forest hiking, so Day 1 and Day 2 feel like two different worlds. The trade-off is the effort: this is a tough 3D/2N plan, and some people skip the summit when the climb goes past their limit.
A standout for me is the human side—on tough stretches you’ll appreciate a steady guide like Agus, and porters who handle the cooking and camping gear so you can focus on footing. Do plan for weather and strain, and take footwear seriously, because one review pointed out dangerous footing on Day 2 when someone didn’t have proper hiking shoes.
In This Review
- Key things that make this Rinjani trek worth it
- What you’re really signing up for on this 3D/2N Mount Rinjani trek
- Day 1: Sembalun arrival, savanna walking, and your first crater rim sunset
- Day 2: 3am summit push, sunrise payoff, then down to the hot springs at Segara Anak
- Day 3: The lush descent back to Senaru, with lunch breaks on the way
- The guide and porter setup: what you gain, what to watch
- Price and value: why $154 can make sense (and what extra costs you must budget)
- Who this trek fits best (and who should reconsider)
- Things I’d pack and prioritize (so Day 2 doesn’t punish you)
- Should you book this Mount Rinjani 3D/2N trek?
- FAQ
- What’s the duration of this Mount Rinjani trek?
- Where does the trek start and end?
- How does the itinerary progress across the three days?
- What’s included in the price?
- What’s not included?
- What should I bring?
- Do I need to pay national park entrance fees?
- Is cancellation free?
Key things that make this Rinjani trek worth it
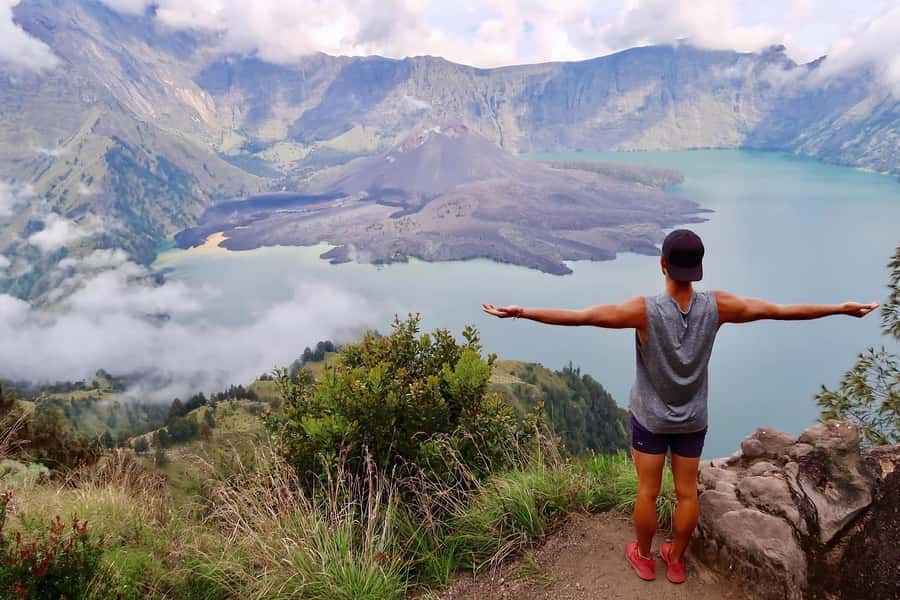
- Segara Anak crater sunrises and sunsets that you can watch from multiple high points
- Sembalun grasslands early in the trek: wide, open views before the climb gets steep
- Summit timing at 3am for sunrise on Mount Rinjani, with a serious but rewarding push
- Hot springs lunch on Day 2 (a short soak) right by the lake shore
- Crater rim camps at Sembalun and Senaru, with different panoramas each night
- Good camp food and camp support, including porters cooking meals during the trek
What you’re really signing up for on this 3D/2N Mount Rinjani trek
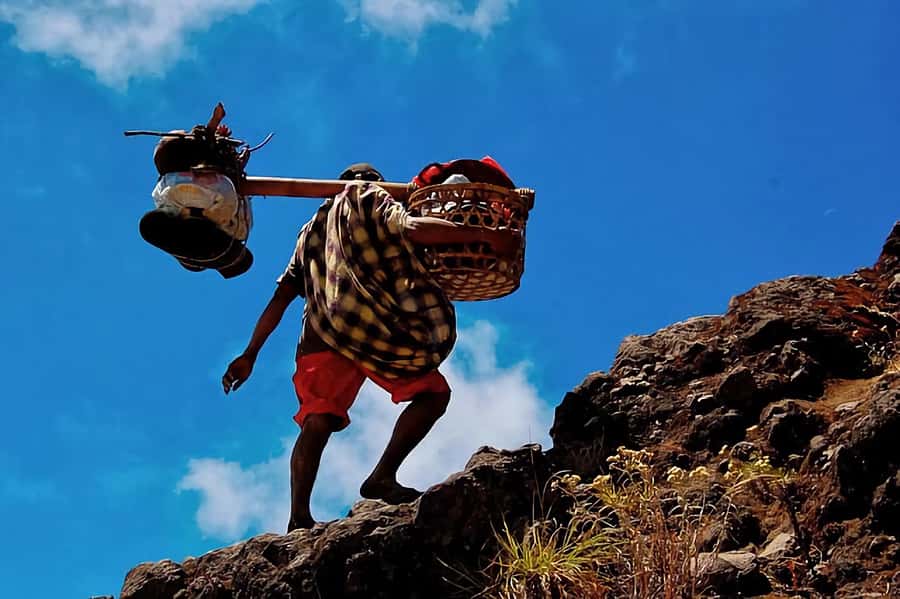
This isn’t a casual walk with a scenic finish. It’s a crater-crossing volcano trek with two big days of climbing and a final long descent through thicker, greener trails.
You’ll start on the Sembalun or Senaru side depending on permits. The plan I’m describing is the popular flow: starting from Senaru and ending Sembalun, if the Sembalun gate isn’t full. If it is full, the start/end will switch. Either way, the route is built to give you crater-rim views at both sunset and sunrise and to bring you down to the lake for lunch and hot springs.
The core reason people book this version is simple: you get a full circuit feel. You’re not just chasing one photo. You’re moving between viewpoints—grass savanna, summit sunrise, crater lake shore, then rim-to-rim panoramas.
Day 1: Sembalun arrival, savanna walking, and your first crater rim sunset
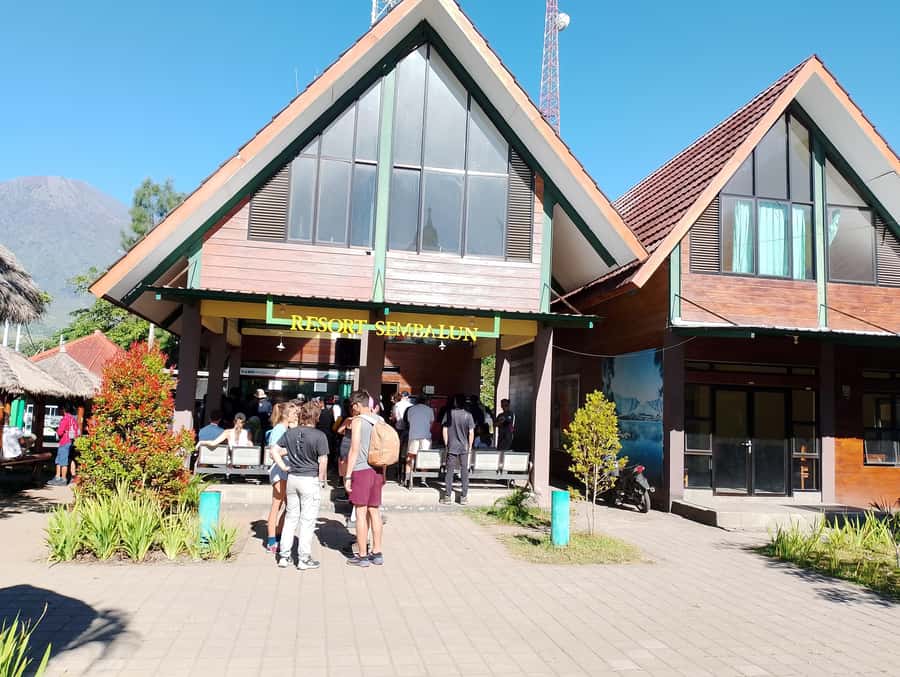
Your day starts with a 4WD transfer to the trailhead. If you’re in Senaru, pickup is typically around 07:00, then you travel to Sembalun. If you’re staying in Sembalun, pickup is around 08:30. Either way, you register at the Rinjani Trek Centre in Sembalun at about 1,156 m before you start hiking.
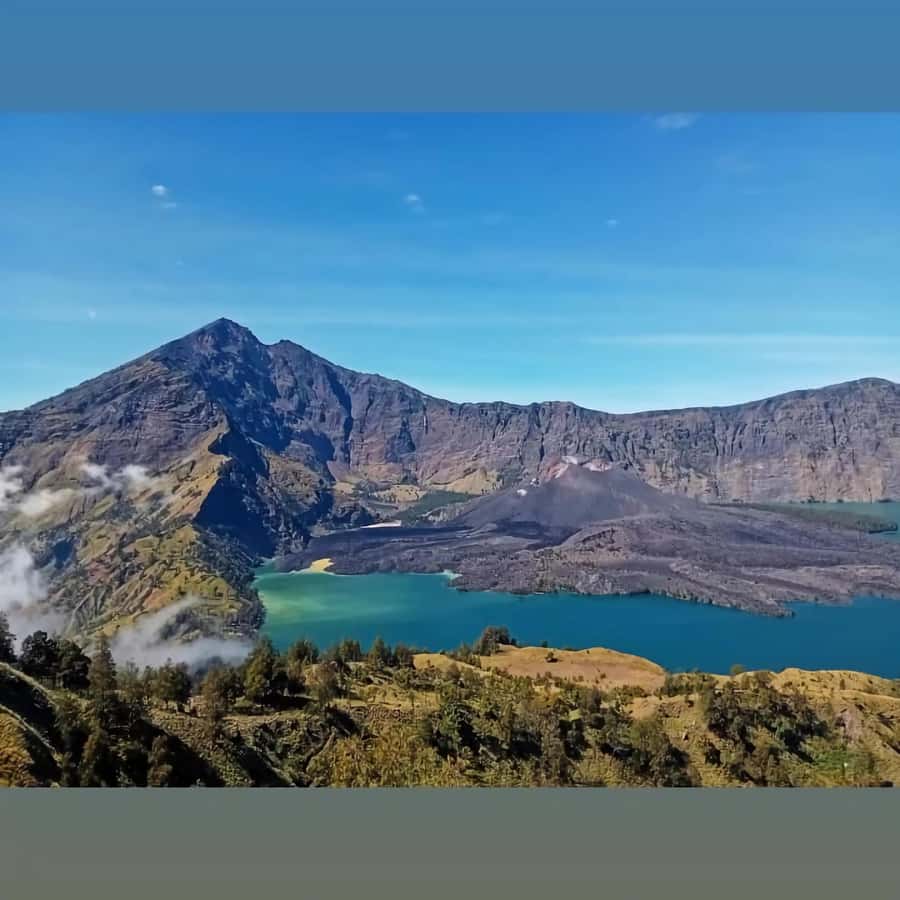
From there, the trek eases you into the altitude with undulating grasslands—big, open views that feel rare in tropical trekking. The route makes a few scheduled stops (Pos 1 and Pos 2) for rest and snacks. Then you reach Pos 3 at around 1,800 m for a longer lunch break.
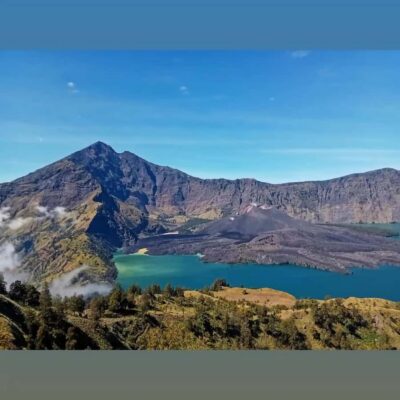
After lunch, the terrain turns steeper as you climb toward the crater rim. You’ll camp for the night at Sembalun Crater Rim (about 2,639 m). This is where the first big payback hits: you’re positioned to watch the sunset, with Lake Segara Anak and the volcano summit visible in the same broad scene. This first night matters because it sets the rhythm—cold at altitude, early sleep, and an eye on tomorrow’s wake-up time.
Practical takeaway: Day 1 is your warm-up, but it’s still real trekking. If you pace too fast here, Day 2 will feel brutally longer.
Day 2: 3am summit push, sunrise payoff, then down to the hot springs at Segara Anak
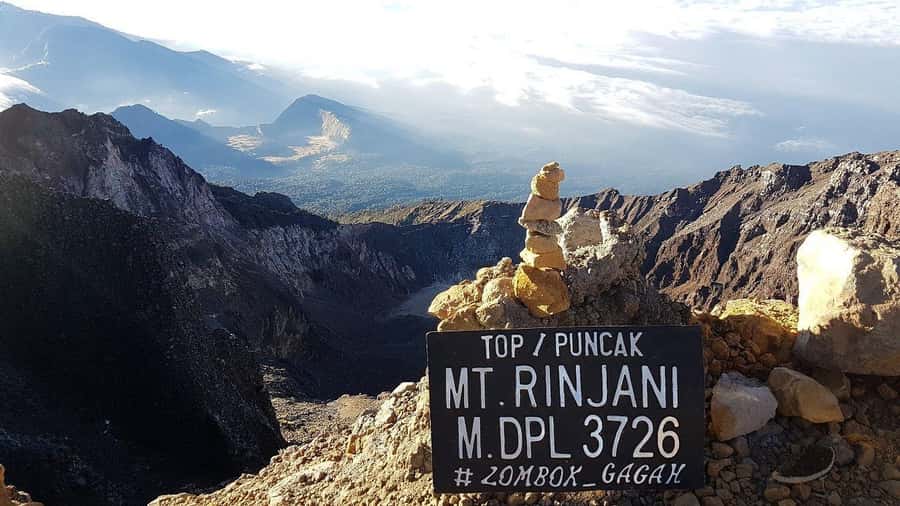
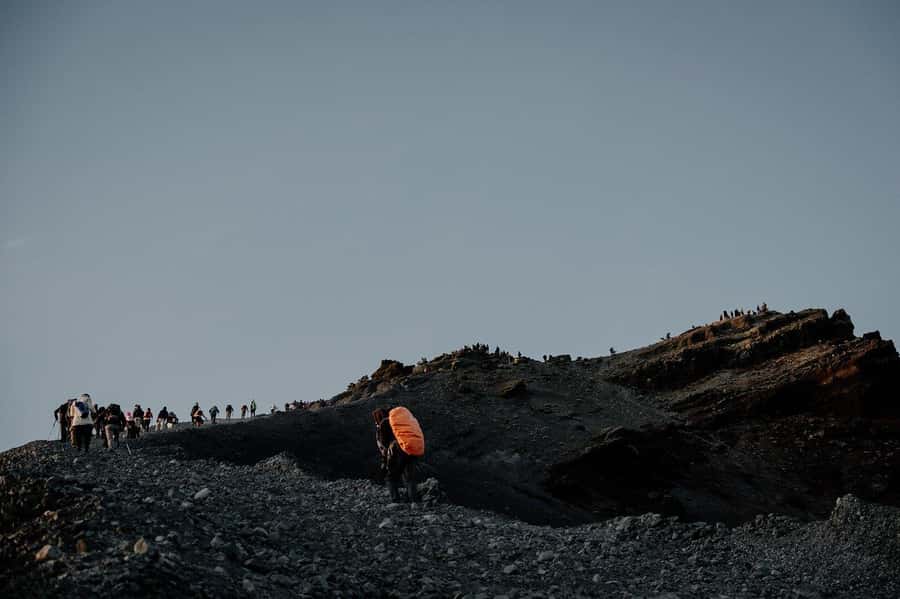
Day 2 starts early—waking around 3am for a light breakfast—then a challenging climb of roughly three hours to the summit (about 3,726 m).
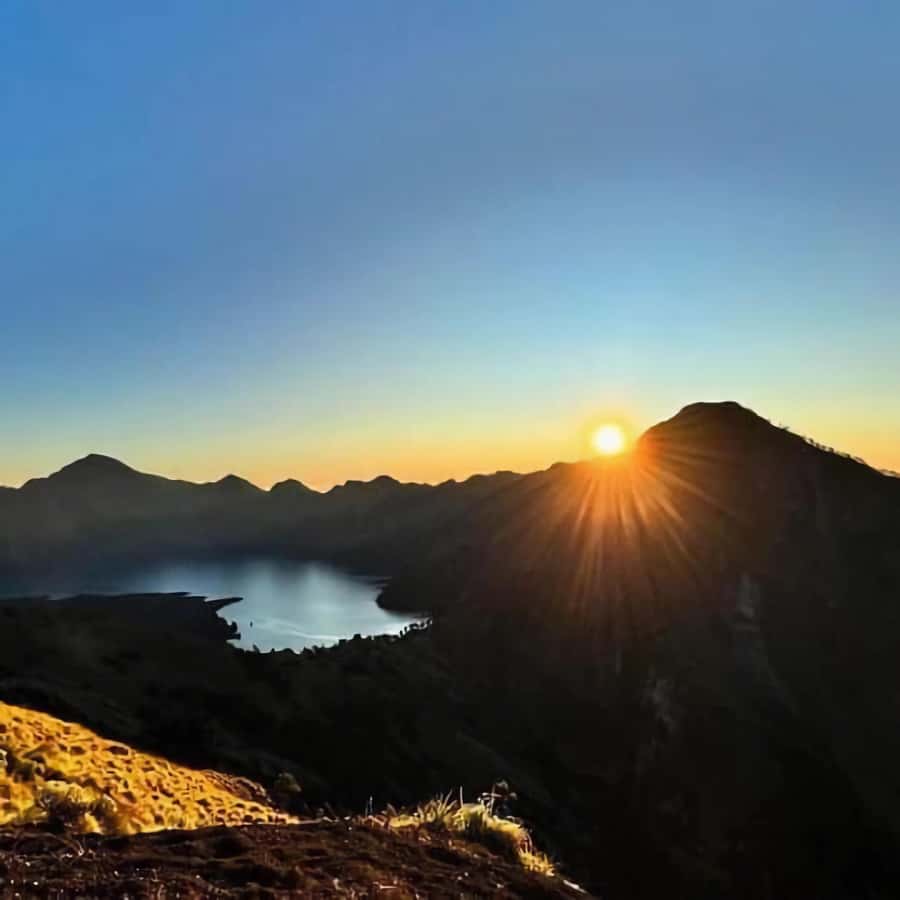
The payoff is the timing. You reach the top in time for sunrise, which is the most iconic moment in the whole itinerary. From that height, Segara Anak stops being a distant crater detail and becomes a full crater scene.
After sunrise, you don’t stay up there. You return to the campsite area for a hot breakfast and rest, then the route shifts into descent mode.
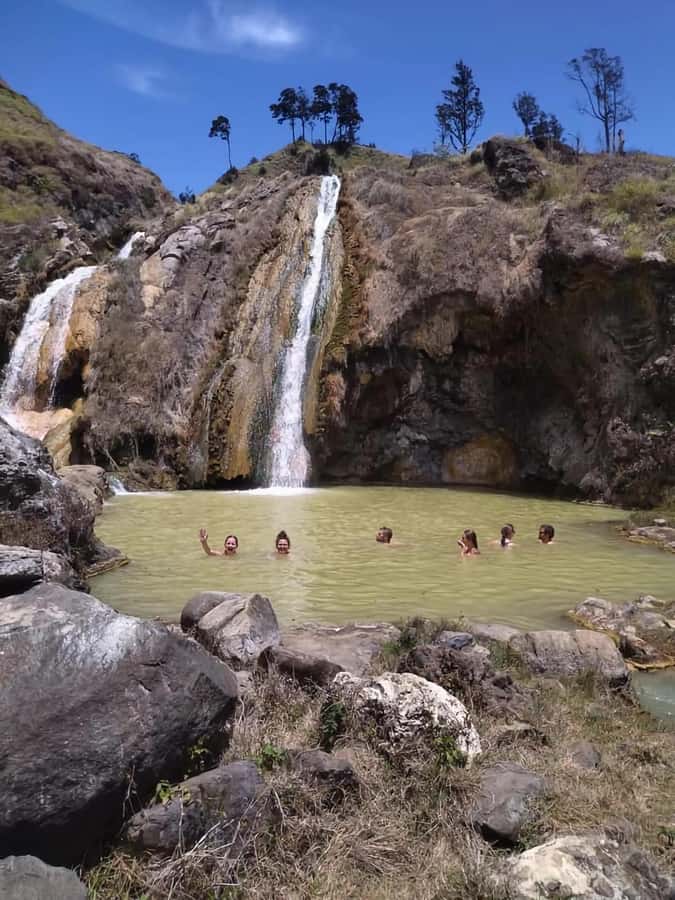
Next you head down into the crater to reach the lake shore for lunch (around 2,000 m). This is where the plan becomes more human. You’ll have a chance to swim briefly in the hot springs near the lakeshore. The soak is short—don’t expect a long spa session—but it’s a powerful reset after the steep walking and the cold morning air.
From the lake, you keep moving along the lakeshore, then you climb back out of the crater through rocky, steep sections and into dense forest. Eventually you reach the Senaru Crater Rim (around 2,641 m) for dinner and your second night’s camp.
This rim has its own view “mix.” You look back across the lake toward the summit, and you can also see Gunung Baru, the smaller volcanic cone inside the crater. If the weather behaves, you may also catch views toward Mount Agung in Bali and the Gili Islands from this elevation.
Practical takeaway: Day 2 is the danger + difficulty peak for many people. One review highlighted that after recent quake damage, parts of the route can be risky—especially at night after the hot springs—when footwear isn’t solid and hikers move slowly. If you want this trek to feel manageable instead of stressful, bring proper hiking shoes and move at a safe pace.
Day 3: The lush descent back to Senaru, with lunch breaks on the way
You start Day 3 with breakfast, then begin the long descent using the trail’s rest points—Pos 3, Pos 2, and Pos 1—with a longer lunch break during the way down.
This day usually feels different from Day 2. As you descend, the forest becomes thicker and increasingly lush. That doesn’t mean it’s easy. Your legs still deal with rocky steps and uneven ground, and you’re finishing a multi-day climb.
By around 1 pm, you arrive in Senaru (around 601 m). Then you get the post-trek drop-off to Senggigi, Bangsal port, and Mataram (listed as included), which is useful if you plan to connect quickly to Lombok’s beaches or ferries.
Practical takeaway: Day 3 is when people feel the trek in their knees. Even if you’re physically fit, plan to take it slow on the downhills.
The guide and porter setup: what you gain, what to watch
This trekking package includes an English-speaking guide plus porters who carry cooking gear and camping equipment. You’ll also have camping support: tents, toilet tent and paper, sleeping bags, and mattress. You’re given a trekking pole and a head lamp/hand torch, which is more than a small convenience. On a 3am start, good lighting and poles help a lot with footing.
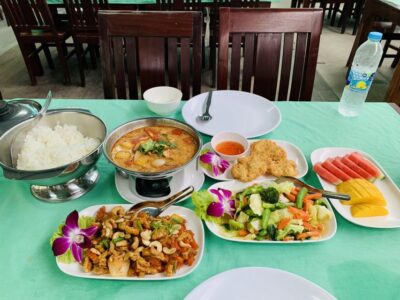
Food is also included: 2 breakfasts, 2 lunches, 3 dinners, plus drinking water (listed as 2 liters mineral water per person per day). One review specifically praised porter-cooked meals like fried rice, curry, noodles, and even crepes with fresh fruits and vegetables, which tells you camp food is usually more than just survival rations.
Guide care is where the trek becomes smoother emotionally. One review mentioned guide Agus taking special care during hard moments. On Rinjani, that kind of steady attention matters because the route can feel steep and technical even for strong walkers.
What to watch: the biggest weak point is usually footwear and pacing, not cooking or guidance. If you skimp on shoes, you’ll feel it fast. Also, this is not a hike that rewards rushing. The people who finish comfortably are the ones who climb like they’re protecting tomorrow’s legs.
Price and value: why $154 can make sense (and what extra costs you must budget)
The price listed is $154 per person for a 3-day trek, and what you’re getting is real logistical support. In the included list, you have guide + porters, full camping gear (tents, sleeping bags, mattress), meals, water, trekking pole, and lighting—plus pickup and post-trek drop-off.
That can be good value compared with DIY trekking where you’d have to source gear, cook arrangements, and permits yourself.
The key extra cost you should plan for is the national park entrance fee: IDR 250,000 per day per person (not included). Since this is a multi-day trek, that adds up over the days you hike. Factor that into your budget early, so you don’t get surprised at check-in.
Also note what’s not included: raincoat, and trekking shoes. You’ll want both, because conditions can shift quickly at altitude and the trail can be rocky. If you don’t have shoes meant for steep, uneven trails, renting or buying ahead is worth it.
Who this trek fits best (and who should reconsider)
This trek is best for people who can handle:
- early starts (3am wake-up)
- steep, rocky climbs (summit push and crater rim transitions)
- a long descent over uneven ground
- cold nights at high altitude camps
You should reconsider or choose a simpler version if you have limited experience with multi-day trekking, or if you tend to struggle with steep climbs after day one.
It’s also not suitable for children under 4 as stated. For everyone else, the question is less about age and more about how you handle intensity and cold.
If you’re the type who wants a single dramatic viewpoint, you might find this plan too demanding. But if you want multiple crater-rim moments—grass savanna, summit sunrise, hot spring lunch, rim views at Senaru—this itinerary is built for that.
Things I’d pack and prioritize (so Day 2 doesn’t punish you)
You’re expected to bring items like:
- hiking shoes (listed as needed even if not included)
- a jacket, gloves, and long pants (cold at altitude)
- sunglasses and sunscreen
- hat
- towel and sandals
- power bank and camera
- cash
- binoculars (optional but useful from the rims)
- flashlight/torch (though you’ll have one provided, it never hurts to have a backup)
From a practical standpoint, I’d prioritize these three first:
- Shoes with solid grip for rocky slopes
- Warm layers for early morning and cold camp nights
- Headlamp backup mindset for any low-light sections
If you bring those well, the trek feels like a challenge instead of a crisis.
Should you book this Mount Rinjani 3D/2N trek?
Book it if you want the classic Rinjani payoff: crater sunrise over Segara Anak, a second rim perspective from Senaru, and the short hot springs lunch reset. The value is strong because you’re not carrying camping gear or cooking logistics yourself, and camp food support makes a big difference on multi-day treks.
Skip or reconsider if you know you’re not ready for a steep, physically punishing schedule. Even fit people can find the Day 2 crater movements and long descent sections exhausting. If you’re even slightly unsure about your ability to handle that intensity, you’ll likely feel it.
My best advice for making the booking decision: treat this as a serious hike. Train a bit before you go, bring real shoes, and plan your mindset around early mornings and steep steps. Do that, and the views—especially the sunrise moments—are the kind you remember long after the hike dust settles.
FAQ
What’s the duration of this Mount Rinjani trek?
It’s a 3-day trek with 2 nights camping.
Where does the trek start and end?
You’ll start from Senaru gate and end at Sembalun gate if the Sembalun gate tickets permit. If the Sembalun gate is full, the start/end may switch depending on permits.
How does the itinerary progress across the three days?
You hike from the trailhead up through rest stops on Day 1 to camp at Sembalun Crater Rim. On Day 2 you wake at 3am to hike to the summit for sunrise, then continue down into the crater for lunch at the lake and hot springs, before camping again at Senaru Crater Rim. On Day 3 you descend back to Senaru and arrive around 1 pm.
What’s included in the price?
Included are hotel pickup in Senaru/Sembalun, an English-speaking trekking guide, porters, food and drinking water (2 liters mineral water per person per day), tents and camping setup (including sleeping bags and mattress), toilet tent and paper, trekking pole, head lamp/hand torch, two lunches, three dinners, and two breakfasts, plus drop-off after the trek to Senggigi, Bangsal port, and Mataram.
What’s not included?
Not included are the national park entrance fee (IDR 250,000 per day per person), a raincoat, and trekking shoes.
What should I bring?
Bring passport, sunglasses, hat, towel, sandals, camera, hiking shoes, sunscreen, jacket, gloves, long pants, cash, flashlight, hiking pants, binoculars, and power bank.
Do I need to pay national park entrance fees?
Yes. The national park entrance fee is IDR 250,000 per day per person and is not included.
Is cancellation free?
Yes. You can cancel up to 24 hours in advance for a full refund.